
The blog · The guide
Photographing your clothes, right the first time.
Published 10 October 2026
In a digital wardrobe, the photo does all the work: it is what the analysis reads to recognise the category, the colour and the material, and it is the base for the studio photo that renders the piece like a packshot. A careful photo, taken in thirty seconds, spares you redoing the piece later.
No camera needed: the phone is enough. Five simple rules, and your pieces enter the wardrobe as if a photographer had come by.
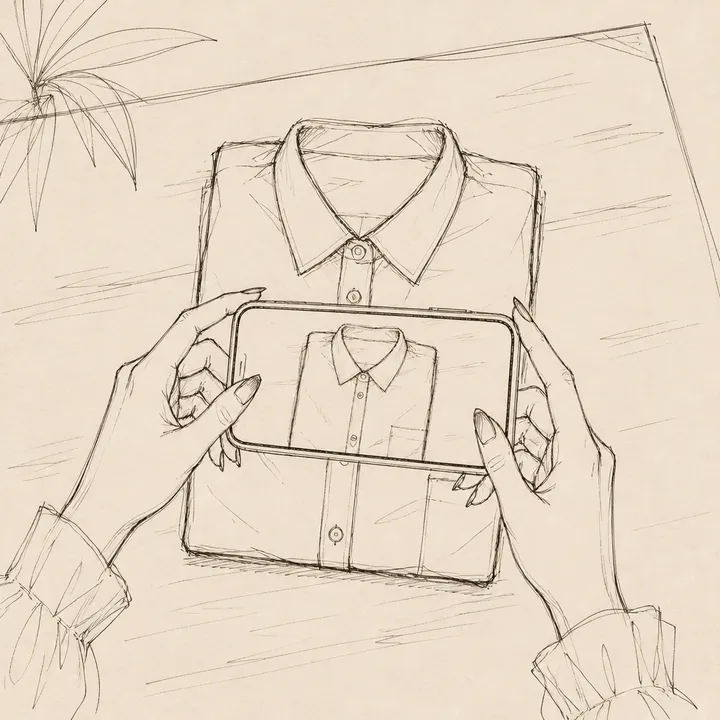
The five rules
- Flat, on a plain background
- The bed, a light wall, a closet door: lay the garment flat and smooth it by hand. A plain background is the outline that reads at a glance — and what makes the studio photo turn out well.
- Daylight, from the front
- Near a window, with no direct sun on the garment. Front light keeps colours true; a yellow lamp turns them green, backlight darkens, flash flattens everything.
- The whole piece in frame
- A top: sleeves and hem visible. Trousers: from the waistband to the hems. Take the photo from above, parallel to the garment — never at an angle, or the cut looks distorted.
- One piece per photo
- A garment laid on another reads as one block. Each piece gets its own photo: that is also how you will find it again in the wardrobe’s filters.
- The details that matter
- If the brand or composition label reads without blur, the analysis picks it up. A pattern, an original pocket, a collar: keep them sharp — they are what makes the piece recognisable.
Two cases we are asked about
White on white works. A white tee on a white sheet, a light shirt on a light wall: the outline reads less than in colour, but the analysis copes — front light and a well-smoothed garment do most of the work. For an even sharper render, a barely different background (light wood, a grey sheet) helps — without ever being required.
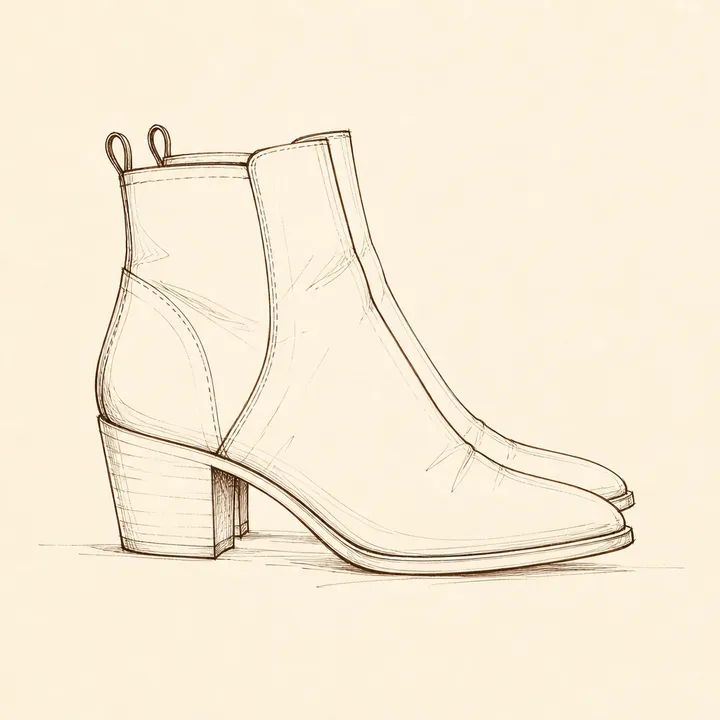
Shoes, in profile. The whole pair, seen from the side, on the same plain background — never a single shoe dropped in a heap: the pair is what you wear. Bring the two feet together so they read as one object, and photograph the size label as a second photo if you can: it is what spares you size mistakes.
Three common mistakes
- Photographing the garment on yourself. A worn photo creases, crops and distorts: the analysis loses the colours and the proportions. The garment laid flat says more than worn in front of a mirror.
- Shooting in a dark room. A dark photo makes navy almost black — and the wardrobe will repeat that mistake in every outfit. If in doubt, move toward the window rather than switch on the light.
- Folding the piece over itself. A hidden sleeve or a bottom folded in half is a piece half-analysed. Thirty seconds of smoothing beat a correction to redo.
And next?
In FashionFast, the photo goes in just as you took it: the analysis fills in the category, the colour, the composition and the description, and everything stays correctable in one click. With Fast, the studio photo starts from your image for a clean, packshot-like render — and the sharper your starting photo, the truer the render.
Once the pieces are in, take five minutes to take your measurements — the outfits and the buying advice fit truer with them.
Ready to fill the wardrobe? Add your first pieces — one by one or all at once.